Database Configuration
After installing the plugin and obtaining the Notion API token and Database ID, you can proceed to configure the databases you want to sync with.
First, open the plugin settings in Obsidian. 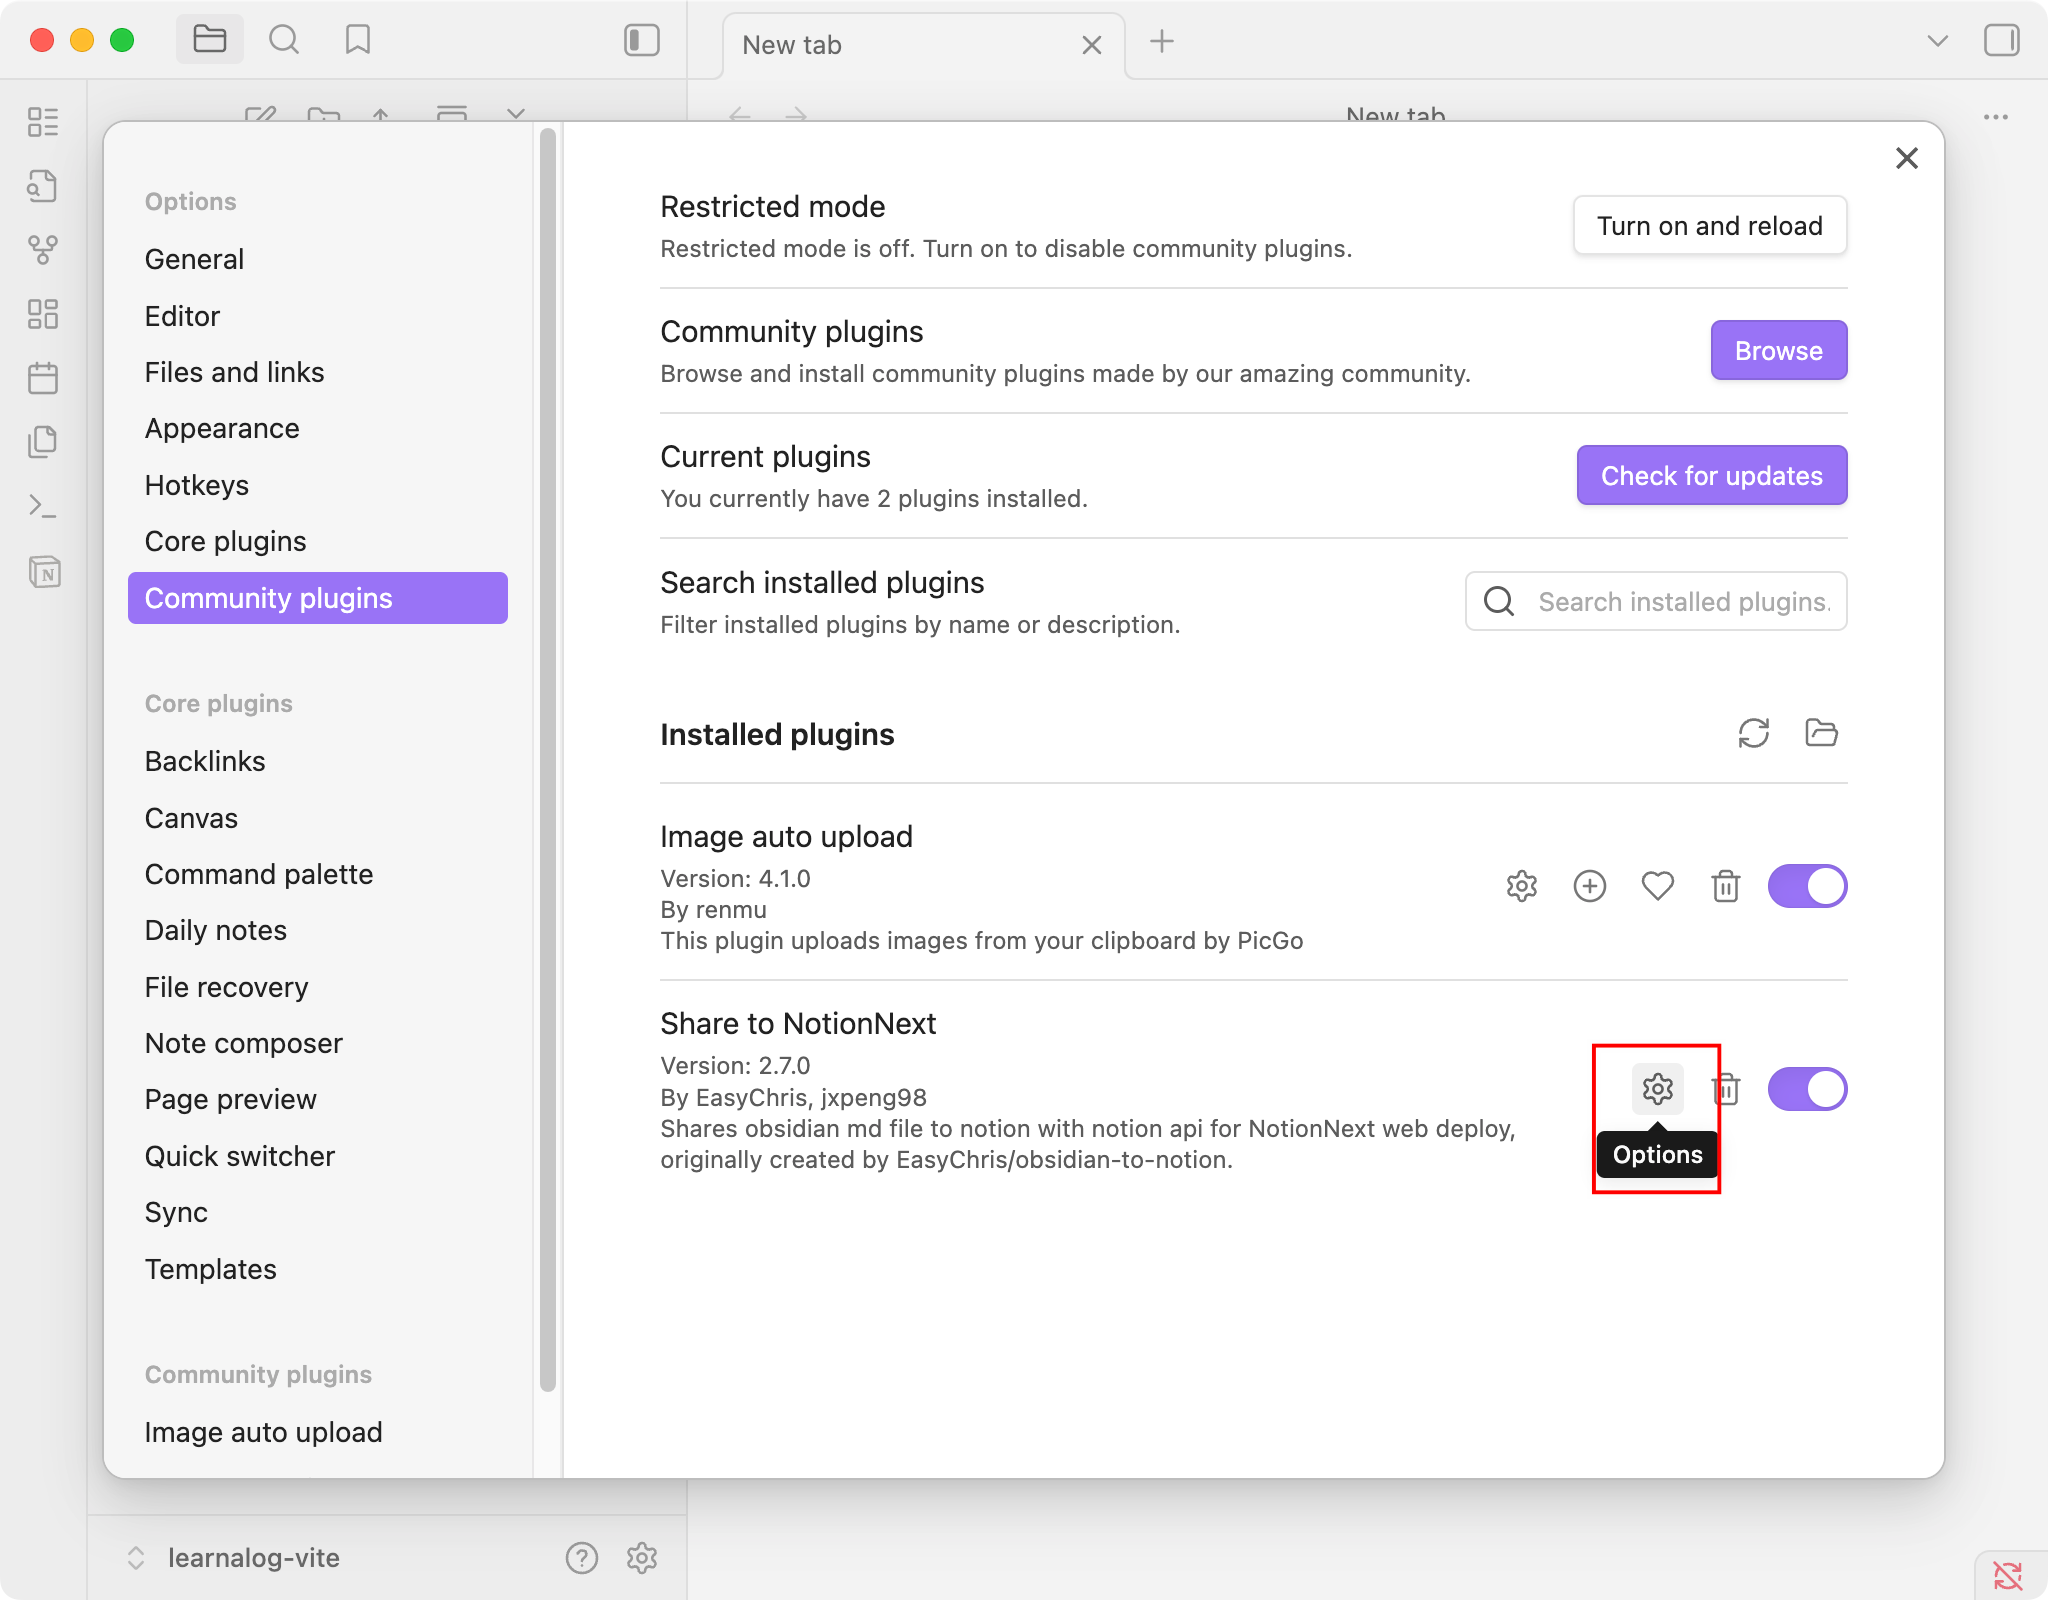
Click "Add new database" to start creating a new database configuration.
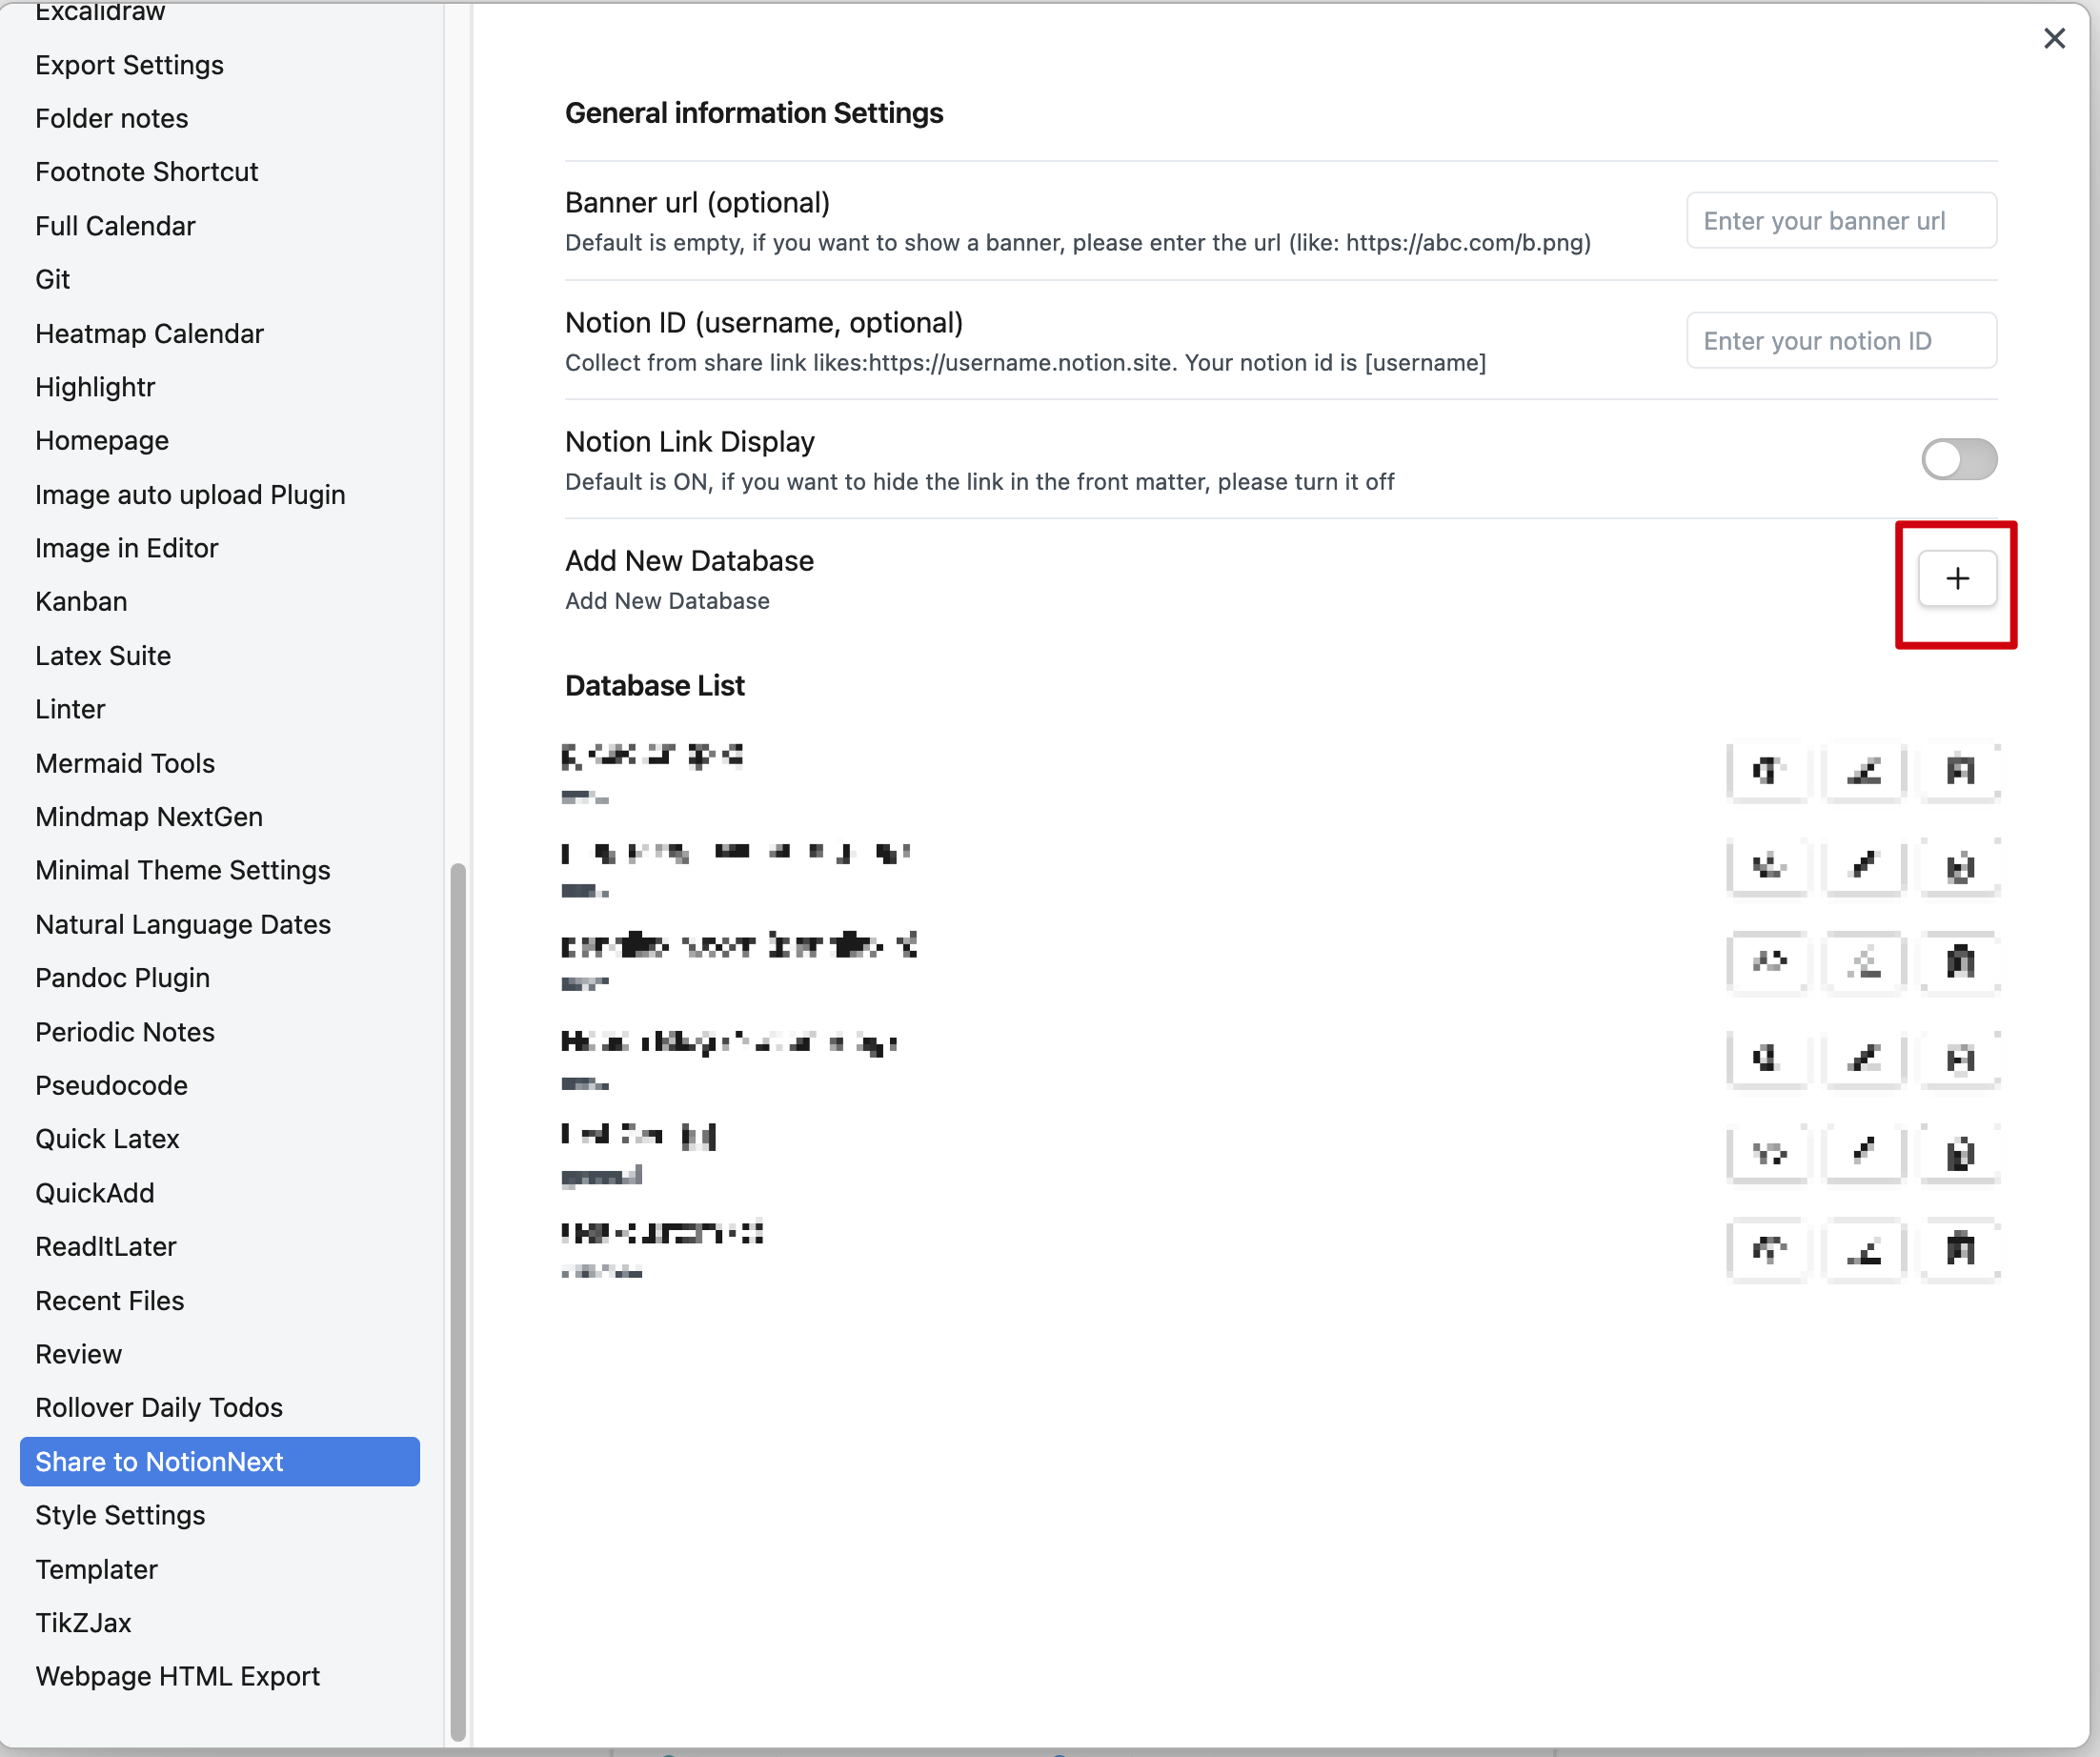
In the plugin settings, you can add and configure the Notion databases you want to sync with. The plugin supports three types of database configurations.
Auto Sync Frontmatter Entry
If you enable auto sync, the plugin needs a frontmatter entry that lists which configured databases should receive updates. You can customise the name of this entry in Settings → Auto Sync Frontmatter Key (default: autosync-database). Use any text you like—letters, numbers, emojis, or other scripts are all supported.
In your note's frontmatter, add the configured key and list the database abbreviations you created in the settings:
---
title: My Article
autosync-database: [blog, ideas]
---
The entry can be a YAML list or comma-separated string, and manual uploads will automatically add the current database abbreviation if it is missing. If you change the key name in settings, update your frontmatter to match the new value.
1️⃣ General Database
This is the most basic database type and is suitable for most users.
Configuration:
- Full Name: A name for this database configuration.
- Notion API Token: The API token you obtained in the first step.
- Database ID: The database ID you obtained in the second step.
Notion Database Requirements:
- Must contain a
Titleproperty namedtitle. - Must contain a
Multi-selectproperty namedtags.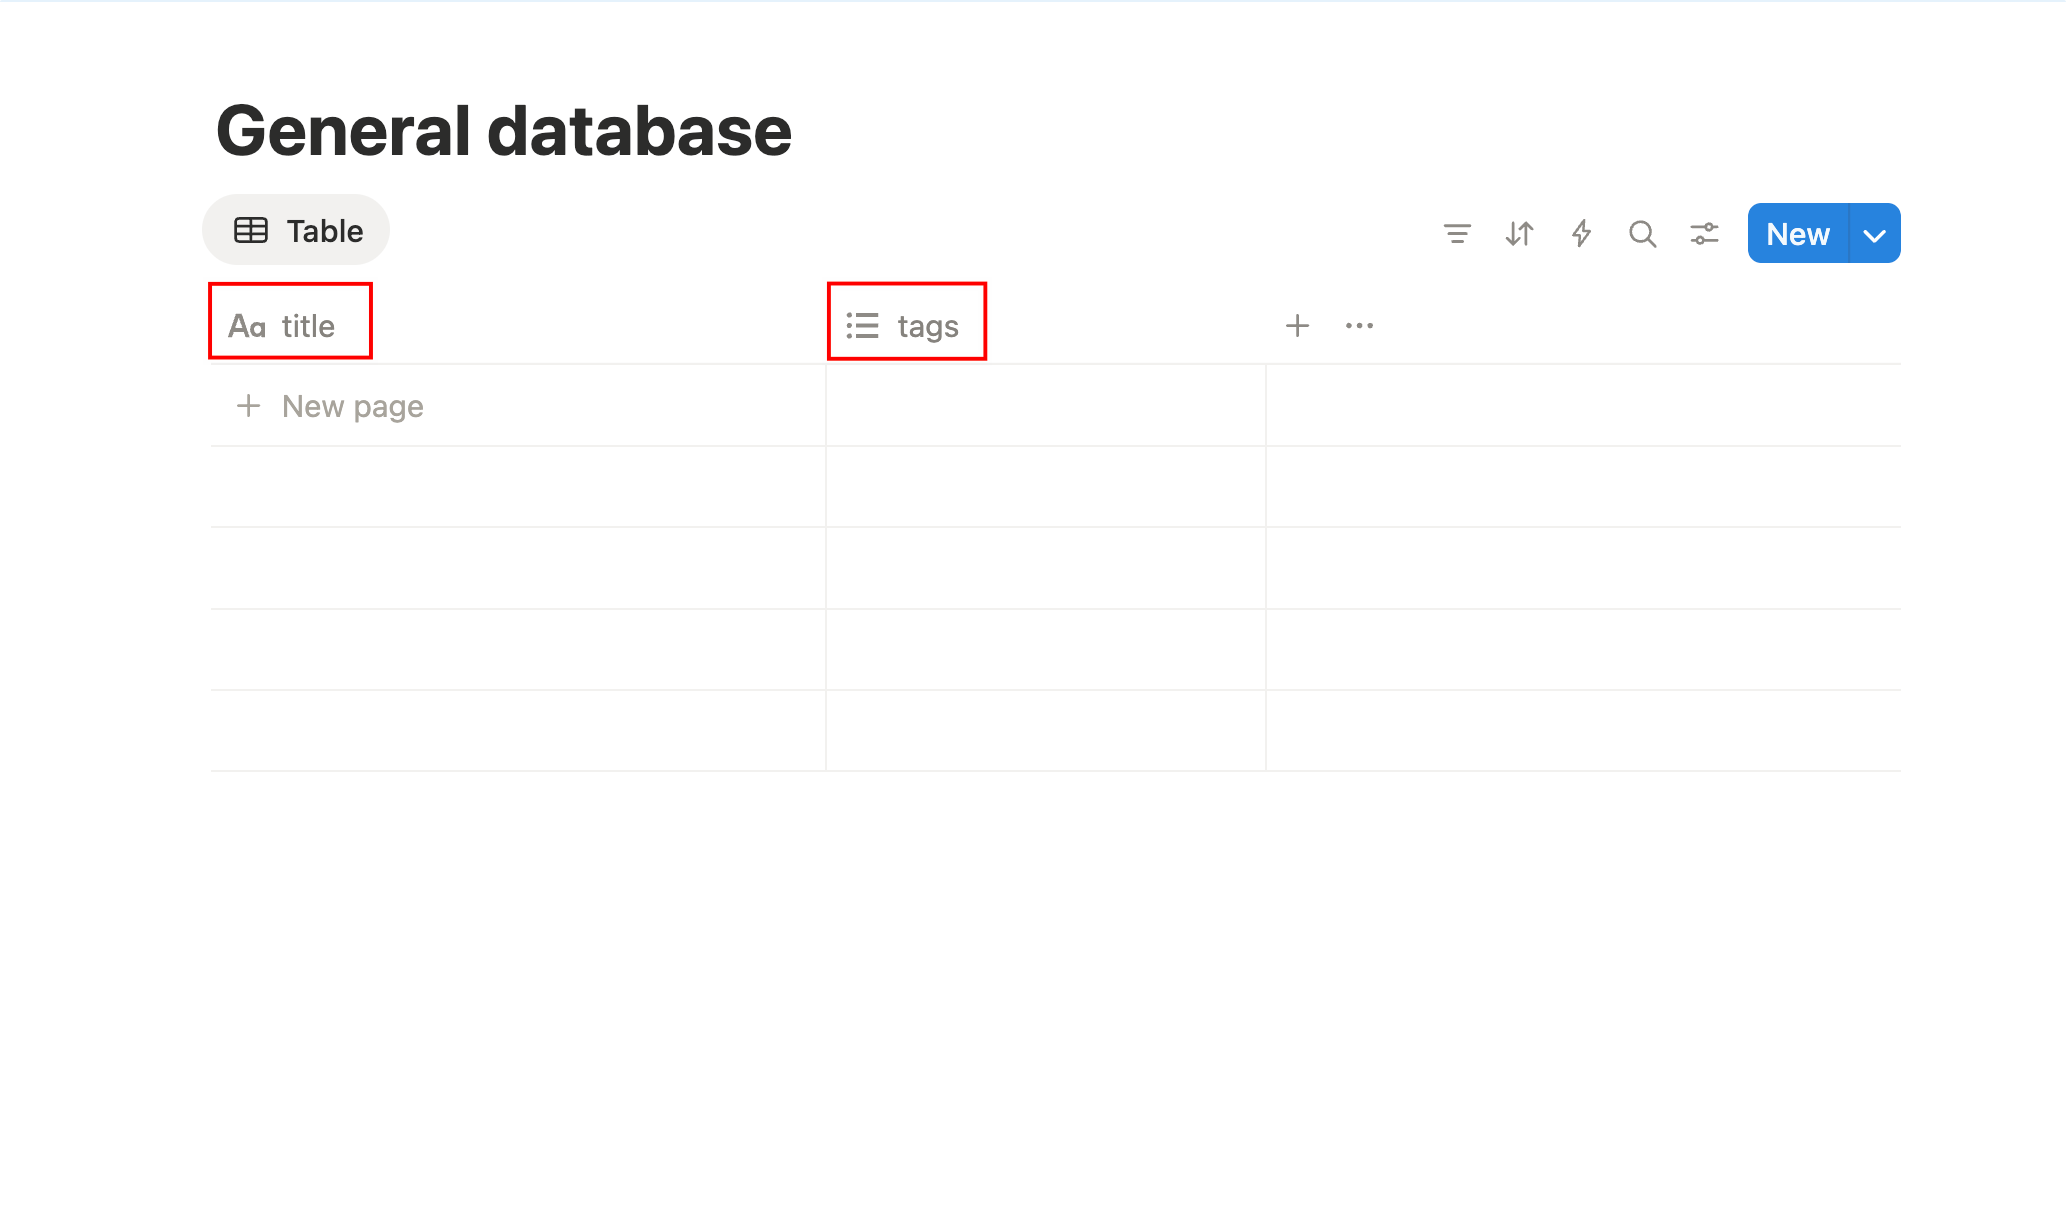
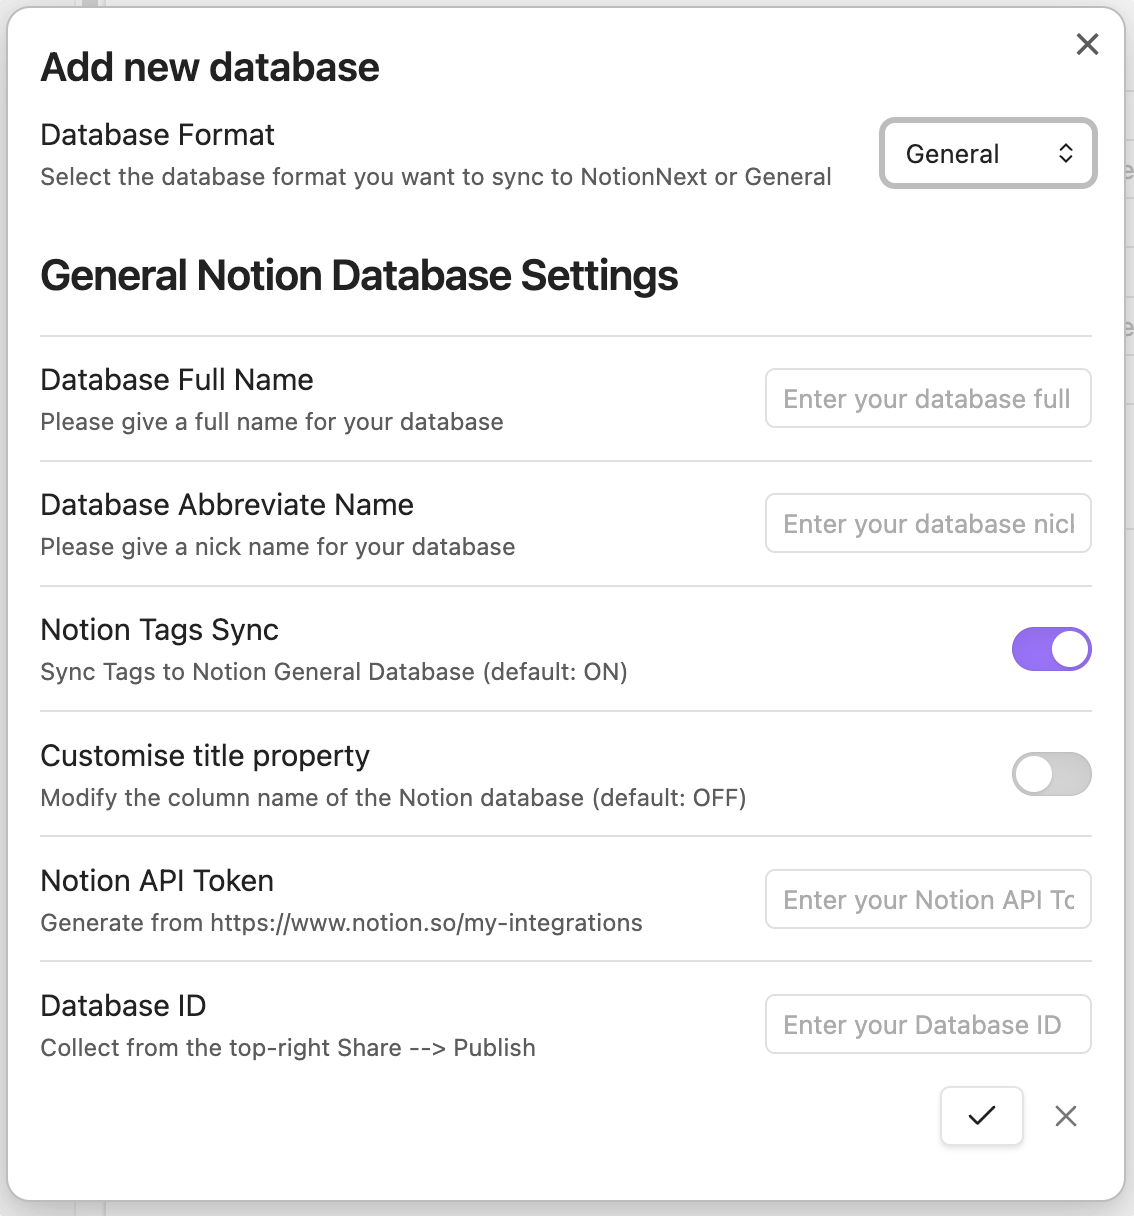
Then, fill in the configuration fields as shown below:
- Database Full Name: the name you want to give this database to recognise it in the database list (e.g. "Learning Database").
- Database Abbreviate Name: a short abbreviation for this database (e.g. "learning").
- Notion Tags Sync: enable this option if you want to sync tags columns from Obsidian to Notion (if you enable this option, make sure you add tags in your notes).
- Customise title property: the property in your Notion database that you want to use as the primary column (default is
title). - Notion API Token: the API token you obtained in the first step.
- Database ID: the database ID you obtained in the second step.
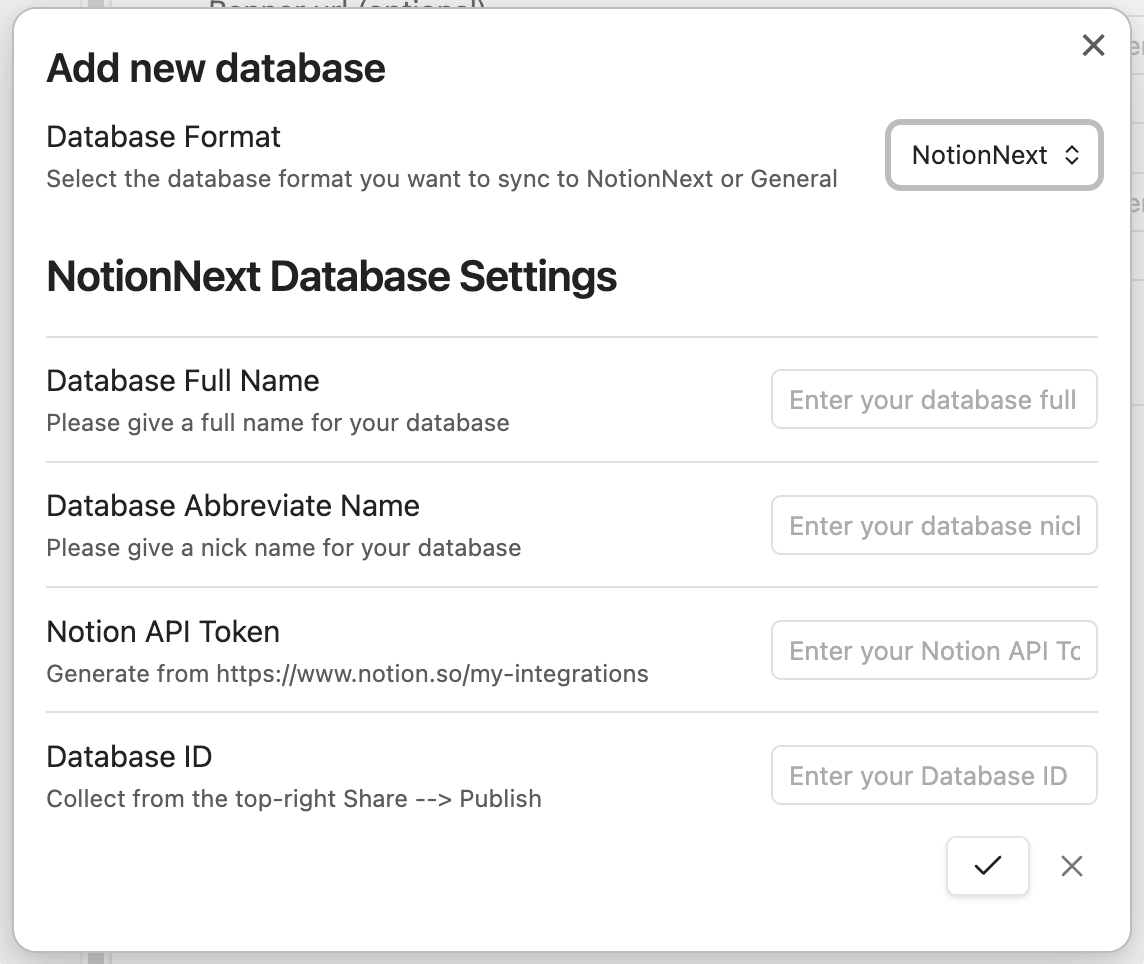
2️⃣ NotionNext Database
This type is specifically designed for users of the NotionNext blog system, with properties preset to match the NotionNext template.
Config the database similarly to the General Database type:
- Database Full Name: A name for this database configuration.
- Database Abbreviate Name: A short abbreviation for this database.
- Notion API Token: The API token you obtained in the first step.
- Database ID: The database ID you obtained in the second step.
3️⃣ Custom Database
This type offers maximum flexibility for advanced users. It allows you to map any frontmatter metadata from your Obsidian notes to any property in your Notion database.
You should first config the database similarly to the General Database type:
- Database Full Name: A name for this database configuration.
- Database Abbreviate Name: A short abbreviation for this database.
- Notion API Token: The API token you obtained in the first step.
- Database ID: The database ID you obtained in the second step.
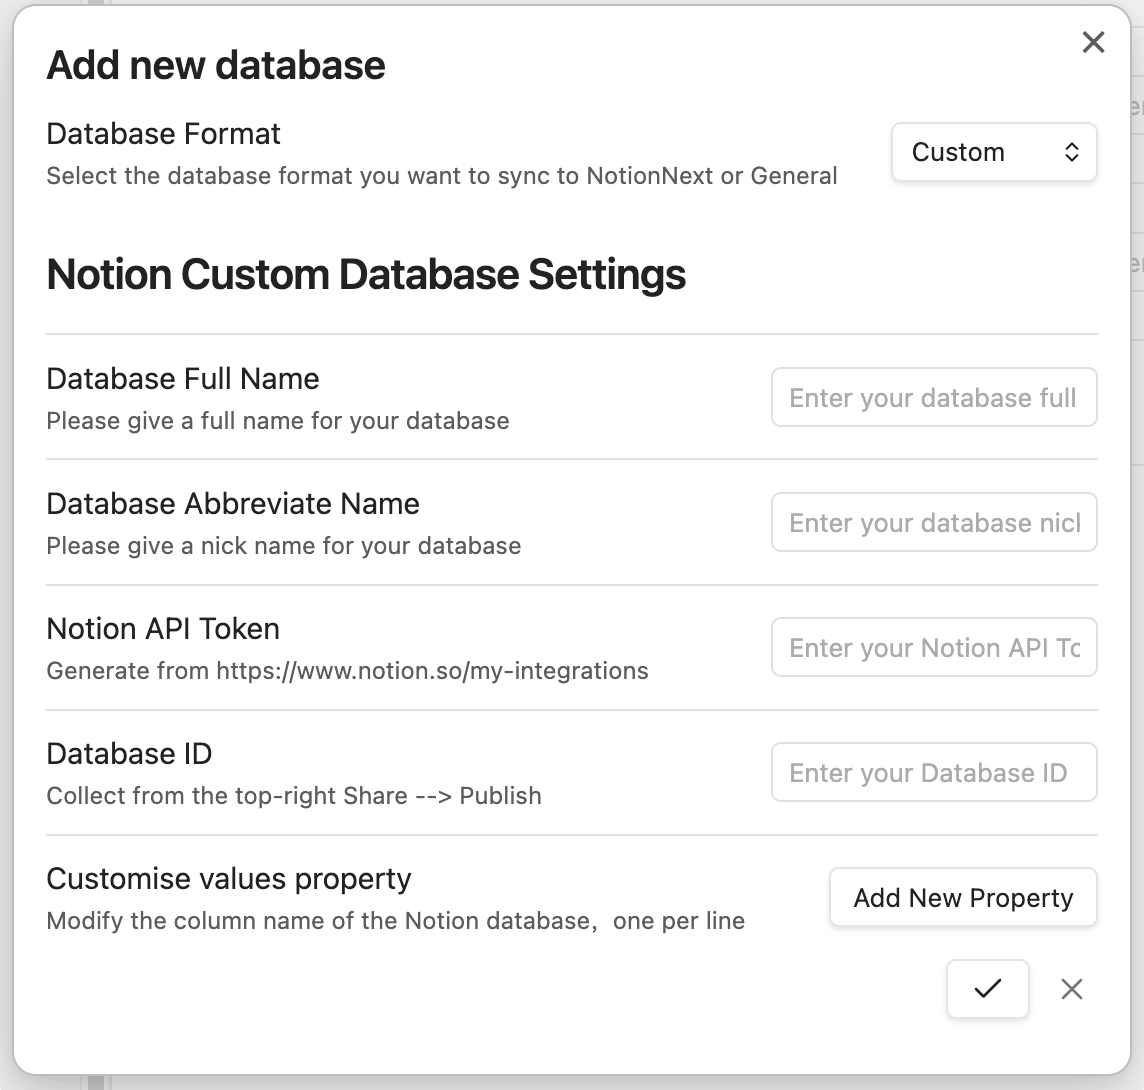
Once you have filled in the basic configuration, you can start to add new properties.
You can click the Add New Property button to create a new property mapping.
First, you need to add the title property mapping, which is required for the Notion database to function correctly.
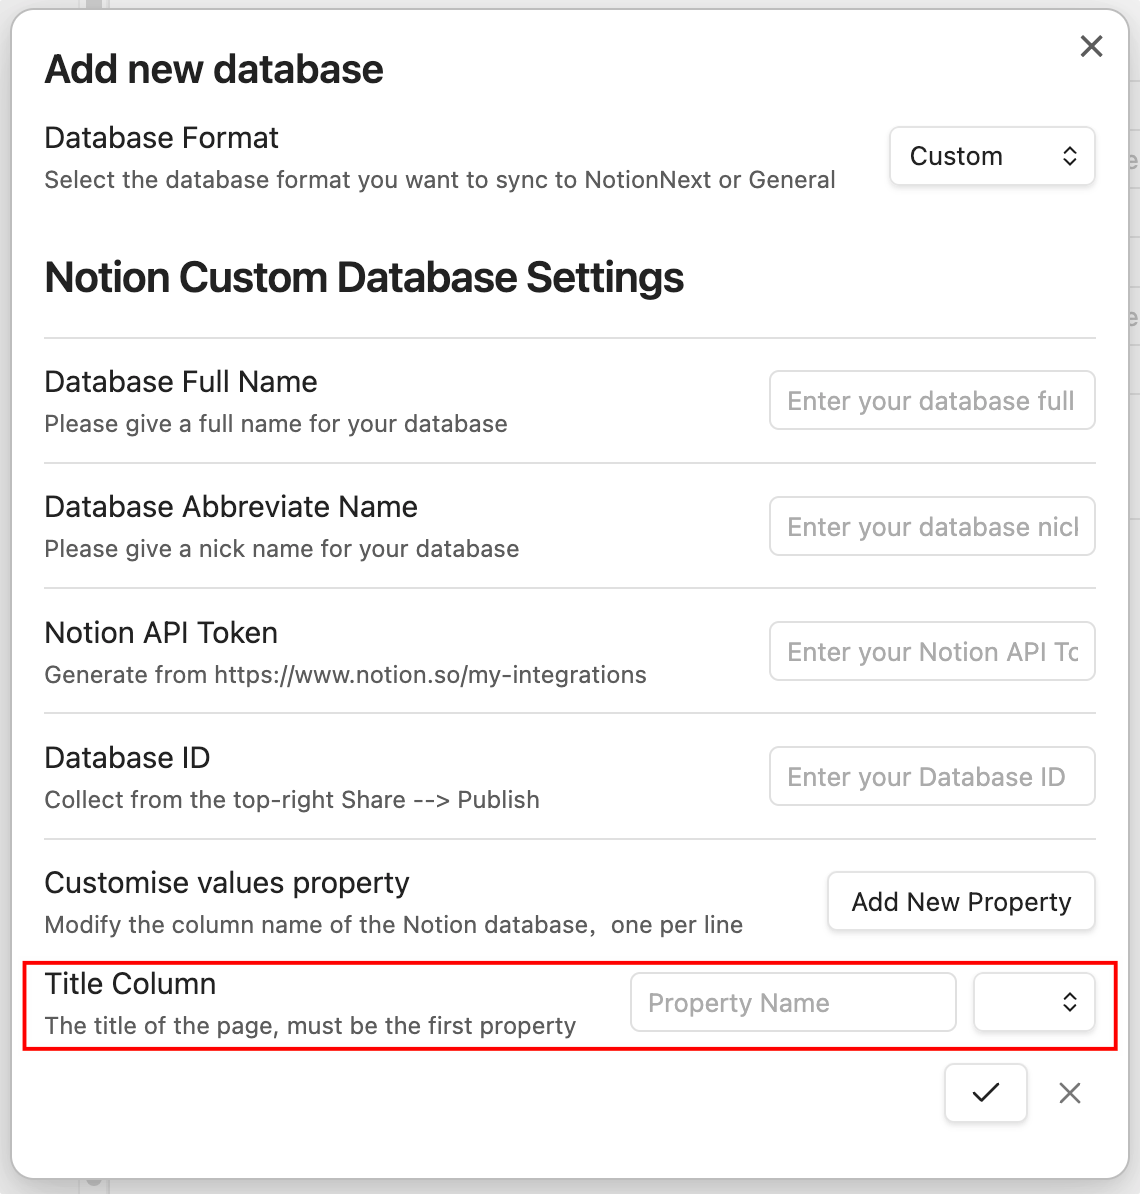
TIP
Remember to set the "Notion Property" to the property name in your Notion database (case-sensitive) and the "Frontmatter Key" to the key in your Obsidian note's frontmatter.
After adding the title property, you can continue to add more properties as needed. 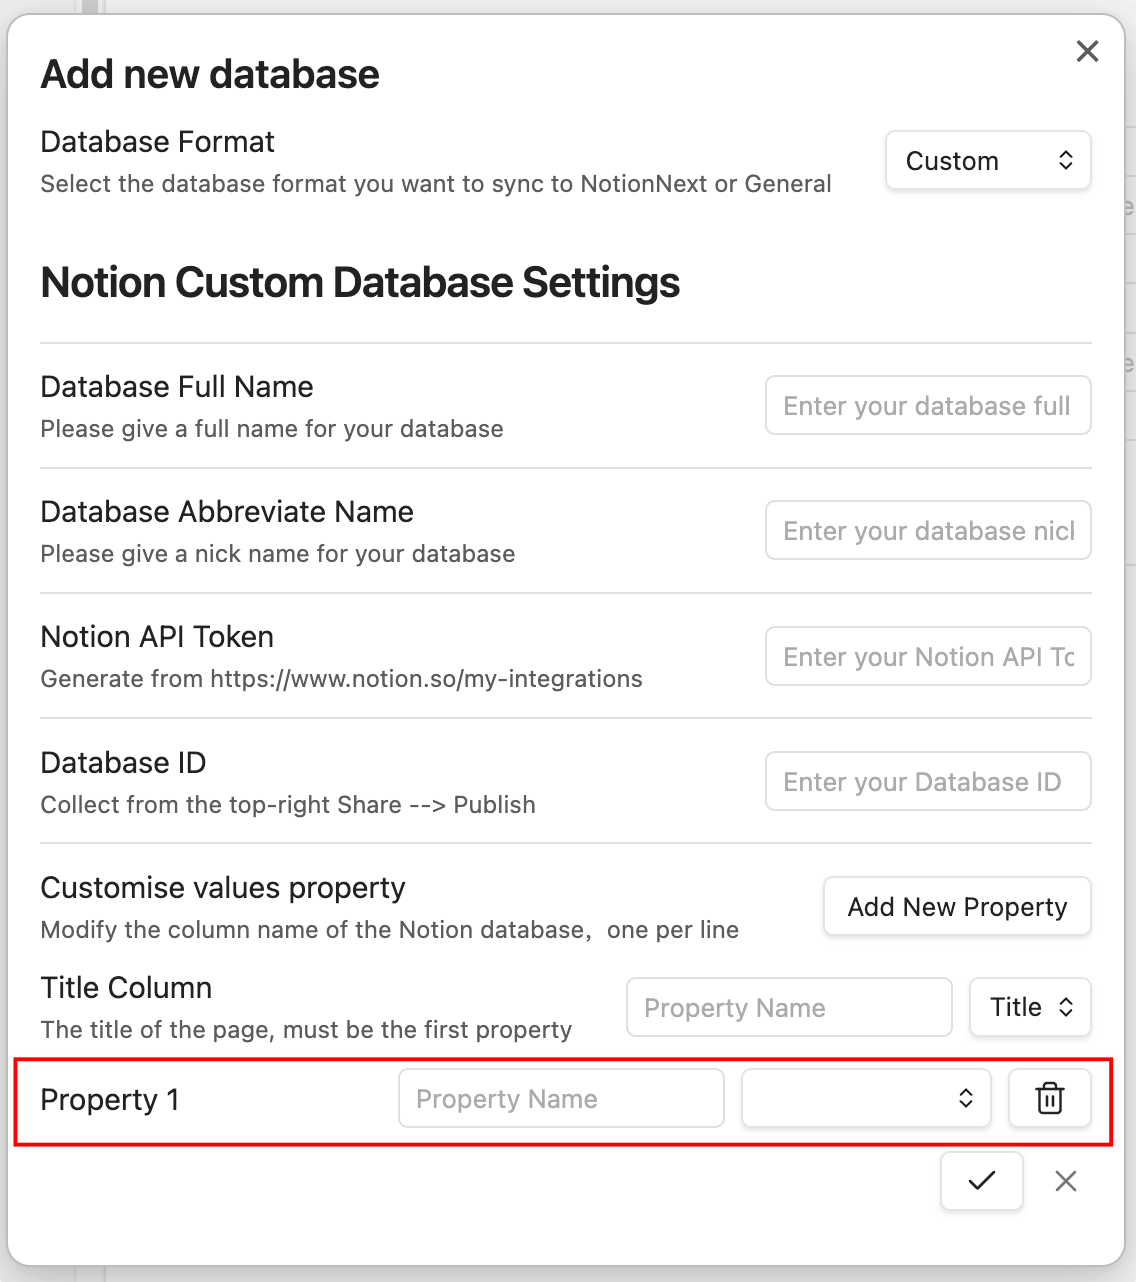
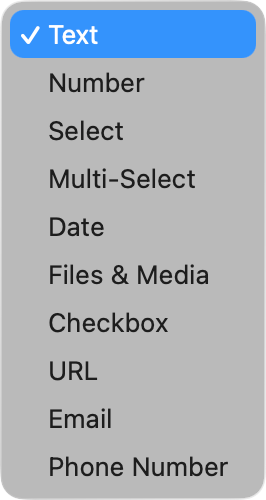
For now, the plugin supports the following Notion property types:
- Text
- Number
- Select
- Multi-select
- Date
- Files & Media
- Checkbox
- URL
- Phone Number
INFO
Relation and Rollup types are not supported yet.
Finalizing Configuration
After configuring your database, make sure to save your settings. You can now start syncing your Obsidian notes to the configured Notion database by using the "Share to NotionNext" command from the command palette or the note context menu.